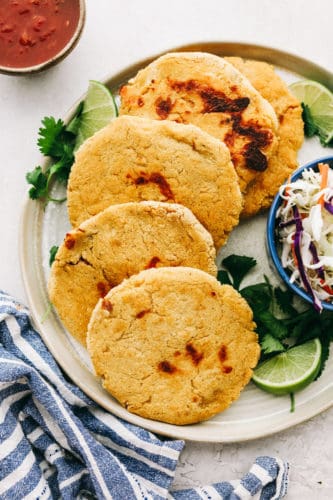
This easy bean and cheese pupusas are handmade griddle cakes filled with savory beans and cheese. They are inexpensive and easy to make, but just beware because they are addicting!
There is something about handheld street foods made in the comfort of my home that is so fun! Try some of my other favorites like Homemade Empanadas or Grilled Mexican Street Corn too!
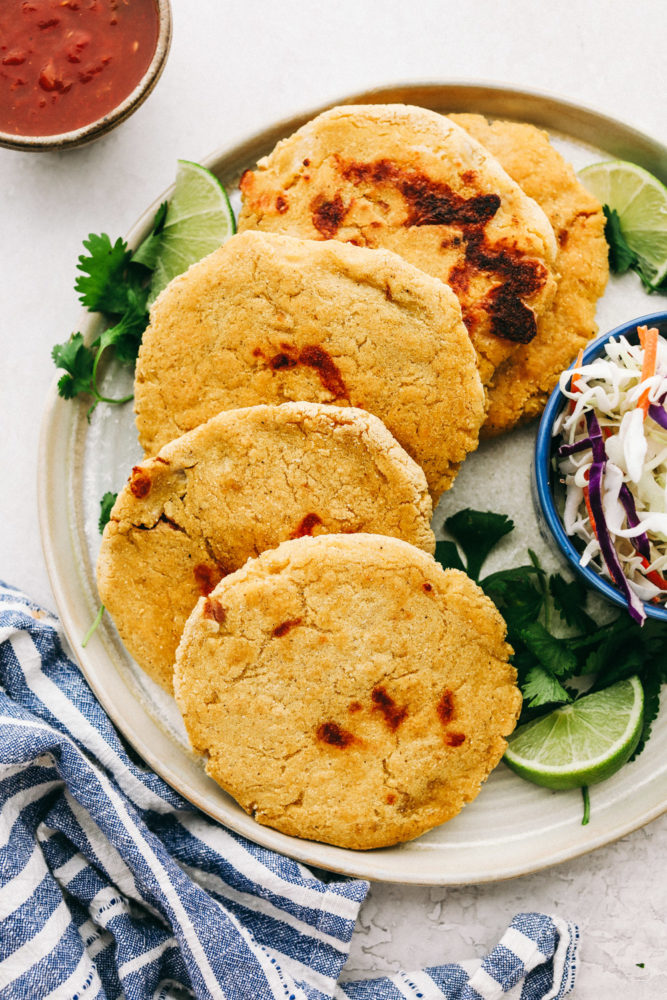
Easy Bean and Cheese Pupusas
So, just so you know, I am totally in on the food truck craze. My family and I love to walk around street fairs and check out the handmade items. Mostly though, I am checking out the food! I go really crazy for authentic ethnic foods! Recently, I discovered pupusas and I was so fascinated!! I went straight into researching them and figuring out how I could bring this amazing recipe to my kitchen, and yours!
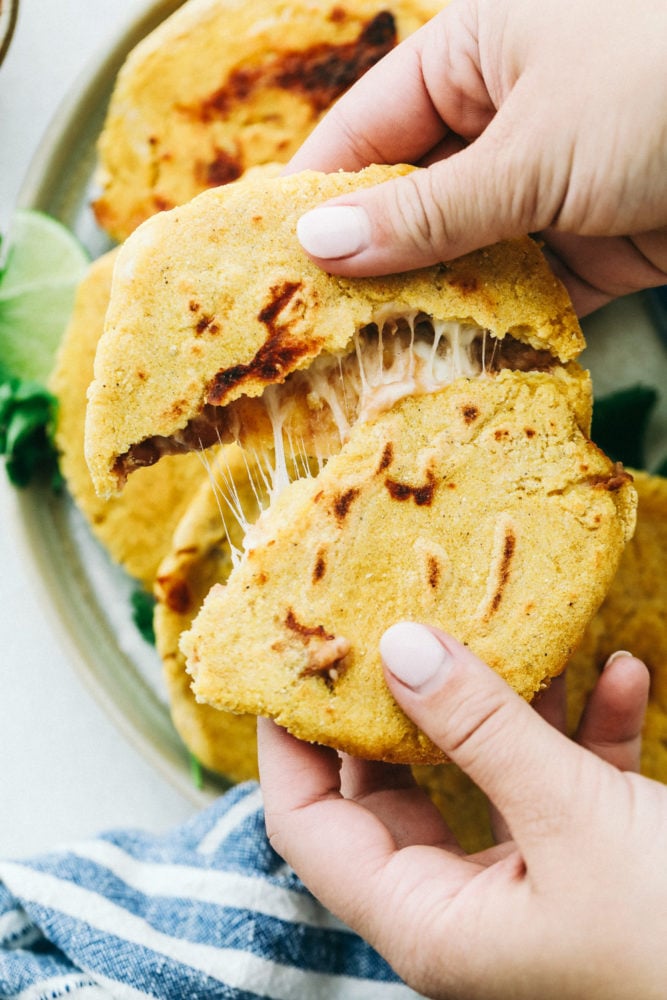
After getting home and trying this out myself I was amazed how easy it was. Really, I couldn’t mess it up. After making a few, I even let my kids help! The key is to keep the dough moist. If it starts cracking add more water. I actually made a bowl of 2 parts water and 1 part oil, and I kept dipping my hands in it as I was forming the dough. This kept the dough from sticking to my hands and it made my dough moist. The finished product was unbelievable! When you bite into the soft, corn cake exterior then cut to the filling with its savory cheesy goodness. Wow! You just have to try it!
What are Pupusas?
The national dish of El Slavador, this dish is so delicious that it has warranted its own day of celebration there! I’m looking at you second Sunday of November… It is a thicker version of a corn tortilla a.k.a. griddle cake, corn cake, or flatbread. The base is made from masa dough, which is the same ingredient that is found in tortillas and many other Latin dishes by the way.
They are stuffed with many different kinds of ingredients. Meats, cheeses and beans are the most popular filling choices. They are made to be picked up and eaten with your hands and are commonly eaten as a breakfast food. They are traditionally served with tomato salsa and Curtito, which is a tangy and sometimes spicy cabbage slaw.
What is in a Pupusas?
These ingredients are inexpensive and there is not a long list at all! This short list allows you to concentrate on execution of the recipe instead of a long prep time. Just 3 ingredients will deliver the perfect dough that’s ready to be flattened into a nice thin shell for your delicious bean and cheese filling.
- Masa Harina Corn Flour: Not to be confused with corn meal, corn flour is much finer and will create the perfect texture.
- Warm water: Add water to the dough a little at a time and it should be the consistency of play dough and not sticky.
- Salt: To taste!
- Refried Beans: Classic filling ingredient that adds earthy, sweet flavor.
- Mozzarella Cheese: Mild cheese is perfect and a very close match to the traditional quesillo cheese!
Easy Steps to Make Bean and Cheese Pupusas:
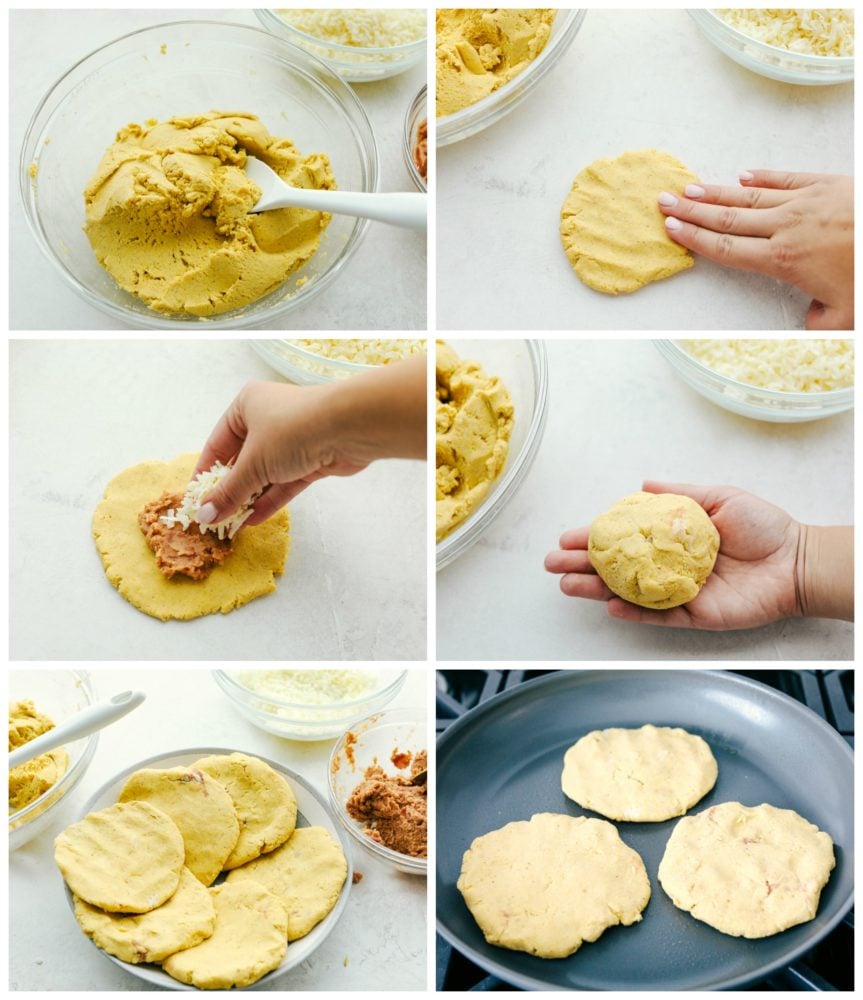
Mix together the corn flour, water, and salt to form the dough, then add in your bean and cheese filling. It is so much easier than I thought it would be! I love how versatile this dish is and I can tell I will be experimenting with all different kinds of fillings!
- Prep: Preheat a non-stick skillet to medium high heat.
- Form Dough: In a medium sized bowl combine corn flour, water, and salt to form a dough. Scoop out a large 3 inch ball of dough.
- Layer and Enclose Pupusas: Flatten the dough and put 1 tablespoon refried beans and sprinkle with cheese. Fold the ends up together to enclose the beans and cheese. Flatten to 1/4 inch thick.
- Cook: Place in a skillet and cook each side until golden brown 3-5 minutes. Serve with coleslaw, salsa, or desired side dish.
More Variations to Try:
This recipe includes a filling of beans and cheese. However, the possibilities of fillings in this delicious corn cake are endless. In fact, it is the perfect vessel to turn leftover meats into treasures! Here are a few filling ideas that are traditional to the pupusas of El Salvador, but don’t be scared to get creative. Add in the ingredients that you love, and be sure to share your favorites and what worked well for you!
- Pulled pork
- Chicken
- Queso
- Bell peppers
- Fried Pork Skin
The Best way to Store Bean and Cheese Pupusas:
It is best to serve cooked pupusas fresh . Although, if you store them tightly they will last in the refrigerator overnight or in the freezer for 2 weeks. In addition, if you are not able to use all the dough at once store the leftover masa dough in an airtight container for up to 2 days in the refrigerator.
- How to freeze pupusas: It is best to freeze them before cooking if possible. They can also be frozen after they have been cooked. First, allow them to cool completely, then store in an airtight container. I recommend freezing each in separate bags.
- Re-heating after frozen: Its best to re-heat these on a stovetop pan. Start by thawing them overnight in the refrigerator. Then heat a little bit of oil (about 1-2 teaspoons) in a pan. Cook 3-4 minutes per side on medium-high until heated throughout. Use a food thermometer to make sure the internal temperature reaches 165 degrees.
- Re-heating from refrigerator: Microwave 1-2 minutes, heat in a toaster oven, or cook on the stovetop with a bit of oil and a medium-hot pan for a few minutes on each side.

More Amazing Recipes You’ll Love:
- Baked Cream Cheese Taquitos
- Insta Pot Salsa Verde Chicken Tacos
- Chicken Chimichangas
- Chicken Fajita Foil Packets
- Taco Casserole
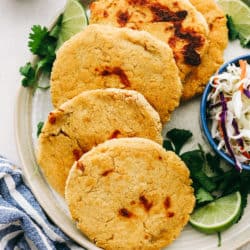
Easy Bean and Cheese Pupusas
Ingredients
- 3 cups Masa Harina Corn Flour
- 2 3/4 cups warm water
- 1 teaspoon salt
- 1 cup refried beans
- 2 cups mozzarella cheese shredded
Instructions
-
Preheat a non stick skillet to medium high heat. In a medium sized bowl combine corn flour, water, and salt to form a dough. Scoop out a large 3 inch ball of dough. Flatten the dough and put 1 tablespoon refried beans and sprinkle with cheese. Fold the ends up together to enclose the beans and cheese. Flatten to 1/4 inch thick.
-
Place in a skillet and cook each side until golden brown 3-5 minutes. Serve with coleslaw, salsa, or desired side dish.
Nutrition
from The Recipe Critic https://ift.tt/2N9ZgY4
Comments
Post a Comment
Please tell us what you think about this article